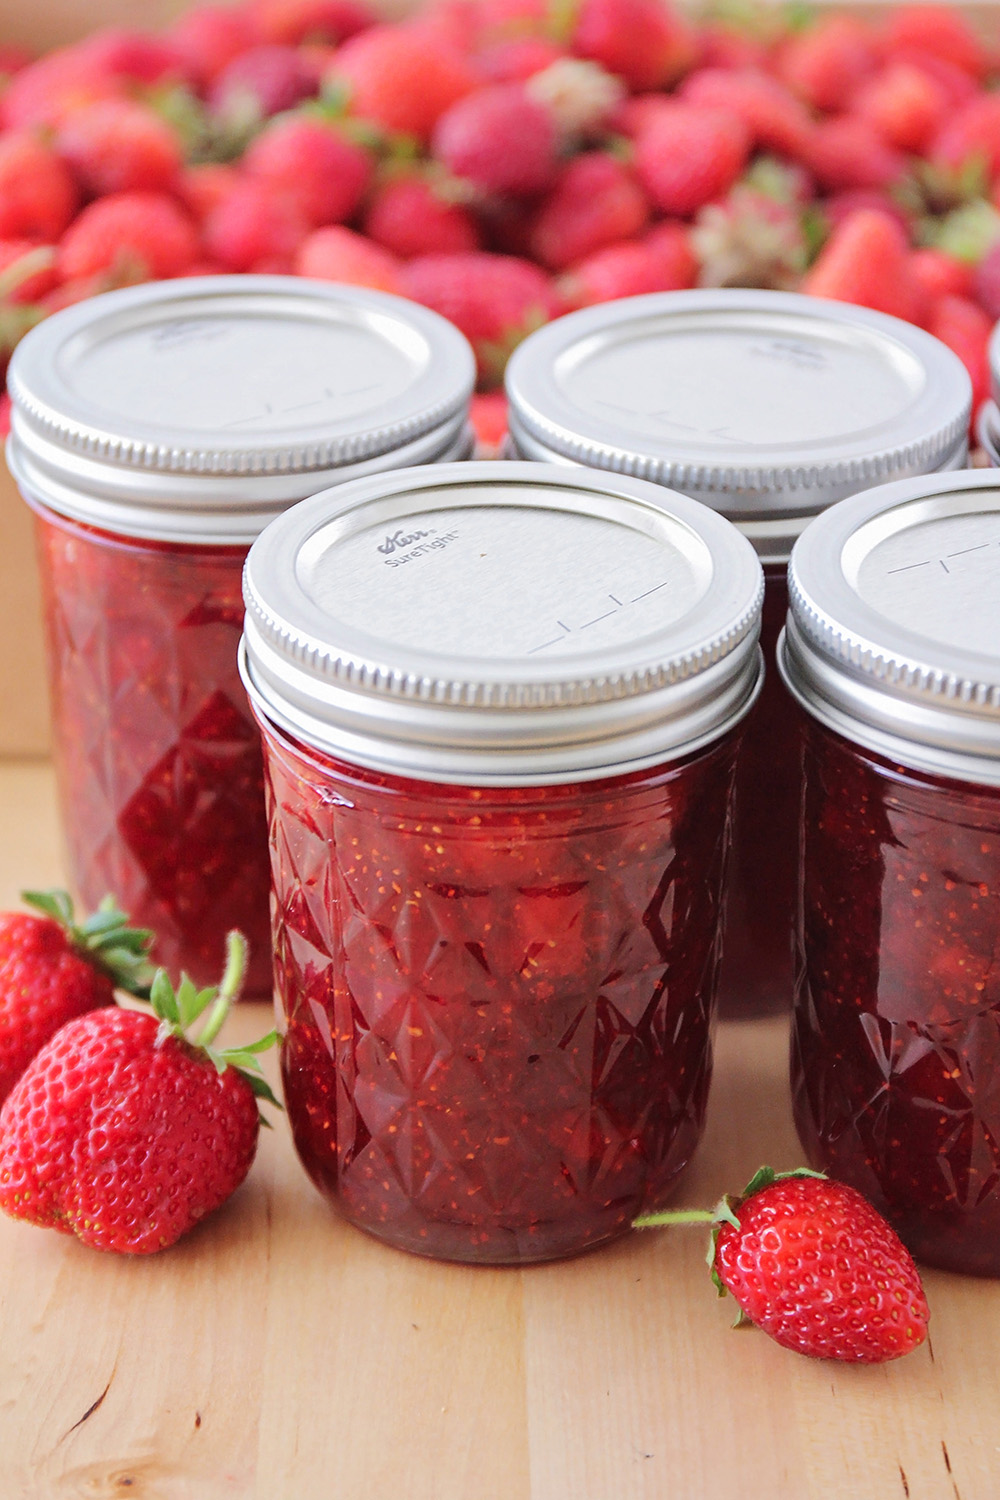
Simple Strawberry Jam
This simple and delicious homemade strawberry jam is so easy to make. It's the perfect way to enjoy those sweet summer berries!
It's finally berry season here in Oregon! Since we had such a great time picking and preserving berries last year, I have been looking forward to berry season all through the long cold winter. Our favorite u-pick farm (Smith Berry Barn, for you Portland locals) opened for strawberry picking a couple of weeks ago, and we couldn't wait to go pick some ripe berries. Last year we mostly picked shuksan berries, which I really liked, but they were so small that they were difficult to work with. This year we picked mostly Benton berries, and they were much easier to use for canning and cooking. They're sweet and plump, and we love them!
I ended up making 3 batches of this jam with the berries (for 21 jars total), and had enough leftover for some strawberry hand pies (recipe coming soon!), a batch of strawberry sauce, and some strawberry cream cheese bread. This simple strawberry jam preserves all the flavor of those gorgeous ripe strawberries, and tastes amazing on top of everything! We love to eat it on toast, biscuits, pancakes, and use it in peanut butter and jelly sandwiches. It has the perfect strawberry flavor, and comes out great every time!
Last year I discovered the easiest way to wash a big batch of strawberries, and now it's the method I use every time. (It's not exactly brain surgery, but it has made my life easier, so I'll share it with you!) First, add all the strawberries you want to use to a colander, then place the colander in a bowl that is just slightly larger than it. Run cold water over the berries until the water is up to the top of the colander. Gently agitate the strawberries for a few minutes with your hands to shake loose any dirt or grit. Lift the colander out of the water, and they're ready to use. I'm always amazed by how much dirt I find in the bottom of the bowl afterwards!
I let my kids help me make the jam this time (usually I'm too impatient when I'm canning to let the little ones help) and we had so much fun making it together. They helped me wash and hull the strawberries, and they especially loved mashing them with the potato masher. They got so exuberant that I ended up with some bright red berry juice splattered on the ceiling, but they had such a great time that it was totally worth it. :)
I will caution you that when the jam is boiling on the stove, it tends to splatter a little, so I would suggest using the longest-handled spoon or spatula you have, and standing back as far as possible. As far as keeping the jam, I've added instructions for freezer jam and canned jam below, so feel free to use whatever works best for you. Either way, you won't be able to get enough!
Simple Strawberry Jam
around 6 cups fresh strawberries (to make 4 cups mashed berries)
4 1/2 tablespoons regular pectin
1 teaspoon butter
4 cups sugar
To make the jam: Wash the strawberries well to remove any grit. Hull the strawberries (I find it easiest to hull them using a spoon), then place them in a shallow dish. Using a potato masher, lightly mash the strawberries. Pour the strawberries and strawberry juice into a large measuring cup, and fill to 4 cups. Pour the mashed strawberries into a large pot and whisk in the pectin. Add the butter to the pot, and heat over high heat, stirring constantly, until the mixture reaches a boil. Pour in the sugar all at once and mix to combine. Return the jam to a boil, then boil three minutes, stirring constantly. Remove from heat and let sit five minutes. Skim the foam off the top of the jam, if desired.
Freezer directions: Ladle the jam into clean, freezer-safe containers. Freeze for up to 6 months. When ready to use, place in the fridge for a few hours to thaw.
Canning directions: Before preparing the jam, fill a large pot or canning pot about halfway with warm water. Place 7 half pint sized mason jars into the water and add water to cover completely. Bring the water to a simmer, and simmer until ready to use. Place 7 canning lids in a small pot, add water to cover, and heat over low heat until ready to use. When the jam is done, retrieve the jars from the simmering water, and ladle the jam into the jars, filling to 1/2 inch from the top. Wipe the top of each jar, then place a canning lid on top, and securing with a band (being careful not to twist it too tight). When all the jars are filled, return them to the canning pot and bring the water to a boil. Cover and boil for 10 minutes (adding additional time as needed to adjust for altitude). Remove from the canner and let sit until cool. Check to make sure the lids have sealed (they should not move up and down when you press on the middle of the lid) then store for up to 18 months. Refrigerate any unsealed jars or opened jam jars and use within 1-2 weeks.
adapted slightly from freshpreserving.com
Read more..


